Constant Velocity Joint: Testing and Inspection
1. Remove the front wheel driveshaft and joint from the vehicle.2. Remove the double offset bearing from the front wheel driveshaft and joint.
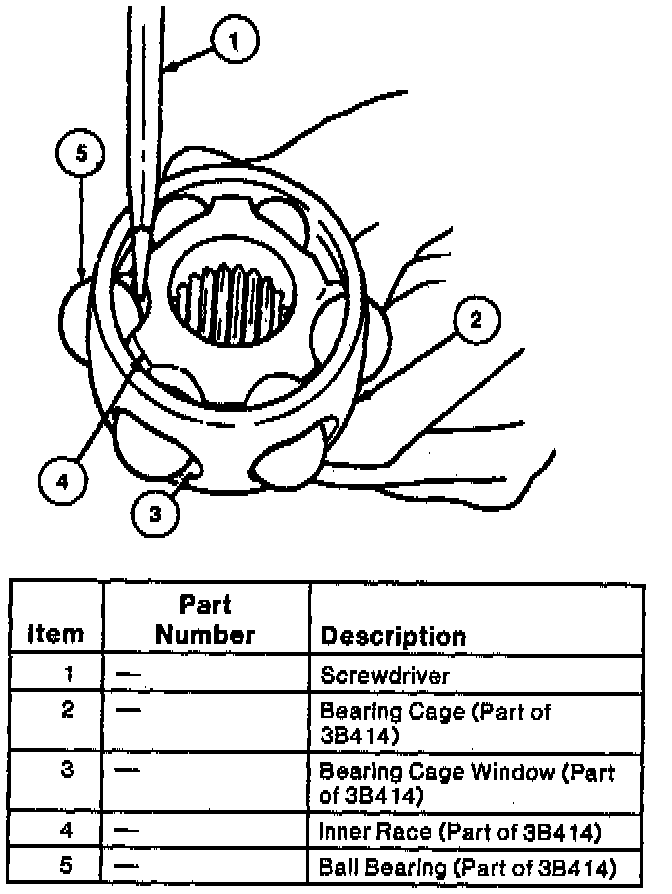
3. Use a screwdriver to pry the ball bearings out of the bearing cage.
CAUTION: Use care to prevent damage to the bearing surfaces and bearing cage. An old screwdriver with the blade blunted by grinder or file can be used.
NOTE:
^ Match mark the inner race and the bearing cage for proper assembly.
^ The sharp edges on the screwdriver should be blunted to prevent scratching finished edges.
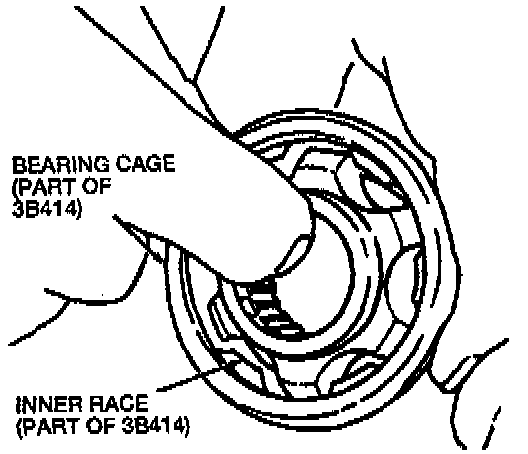
4. Rotate the inner race to align the bearing lands with the bearing cage windows in the bearing cage. Remove the inner race through the larger end of the bearing cage.
5. Clean the bearing cage in a suitable solvent.
6. Inspect the bearing cage for excessive wear, pitting, rust and cracks.
NOTE:
^ Because front wheel driveshaft and joint components are matched during assembly, individual components are not available for replacement. If inspection determines a part to be unserviceable, the front wheel driveshaft joint must be replaced as an assembly.
^ Replace parts only if required.
^ Do not replace a front wheel driveshaft joint merely because the parts appear polished. Shiny areas in inner and outer races and on the bearing cage windows are normal. A front wheel driveshaft joint should be replaced ONLY if inspection determines a component(s) to be cracked, broken, severely pitted, worn or otherwise unserviceable.
7. To assemble, go to Service and Repair for automatic or manual transaxle.